Nothing says bold & confident like a perfect smokey eye — mysterious, sexy, and timeless.
Here’s how to nail it in 6 beginner-friendly steps without looking like you got punched 😅
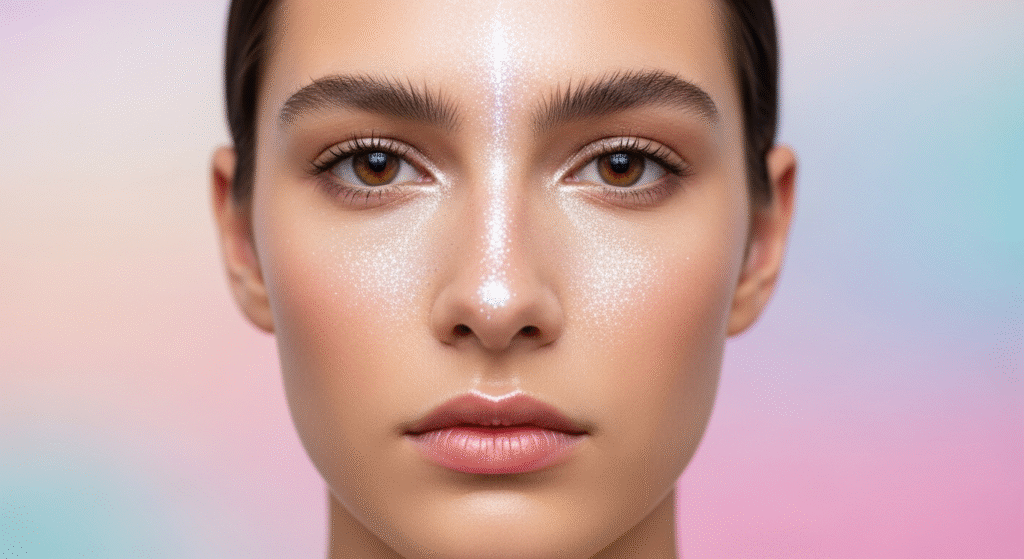
👁️ 1. Prep the Eyelids for Smooth Blending
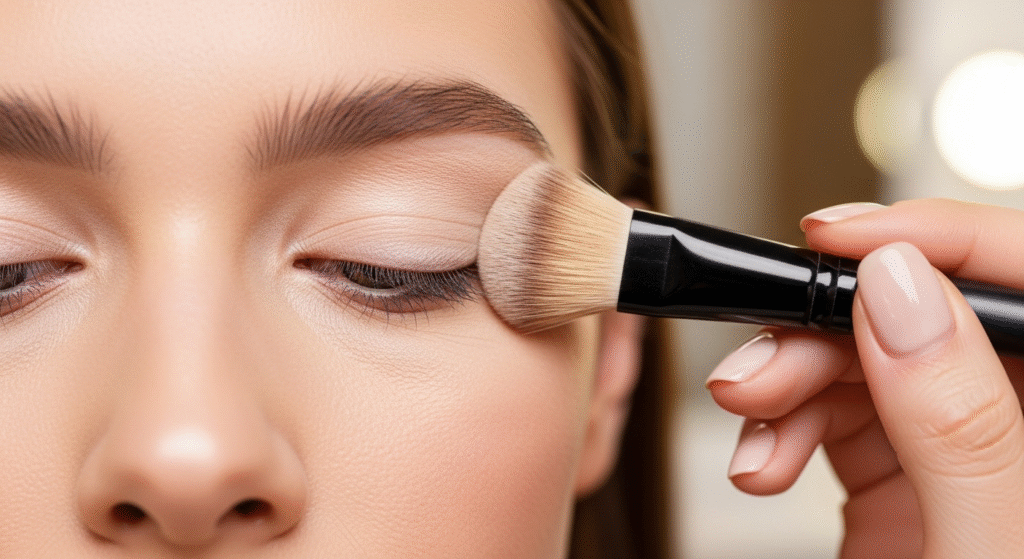
Apply a concealer or eyeshadow base all over your eyelid.
It evens out the skin tone and helps the eyeshadow stay vibrant and crease-free all night.
🎨 2. Use a Neutral Transition Shade First
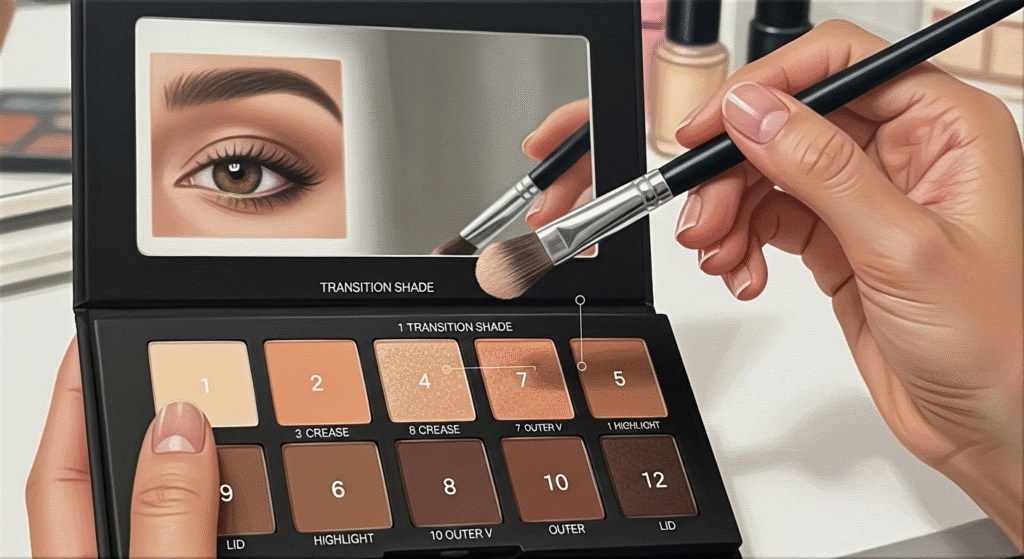
Start with a light brown or taupe shade in the crease using a fluffy brush.
This creates a soft transition and makes the dark colors blend like butter later.
🖤 3. Apply the Dark Shade Gradually (Not All at Once!)
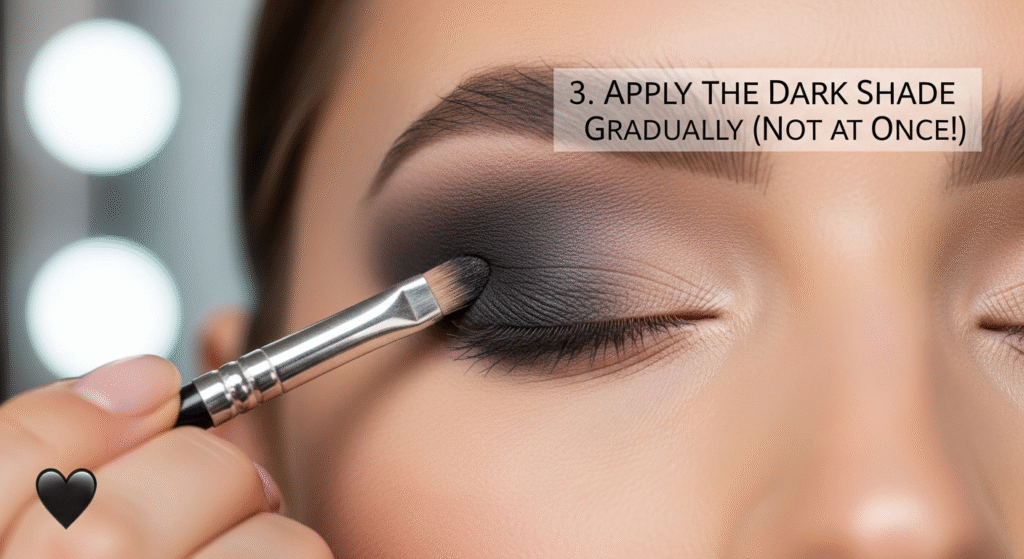
Pick a dark brown, charcoal, or black shade and tap it on the outer corner of your lid.
Blend slowly in circular motions — remember, build up color, don’t dump it all in one go.
✨ 4. Add a Soft Shimmer or Light Shade on the Center
To give dimension, apply a shimmer or nude tone in the center or inner lid.
It opens up the eyes and prevents the look from becoming too heavy or flat.
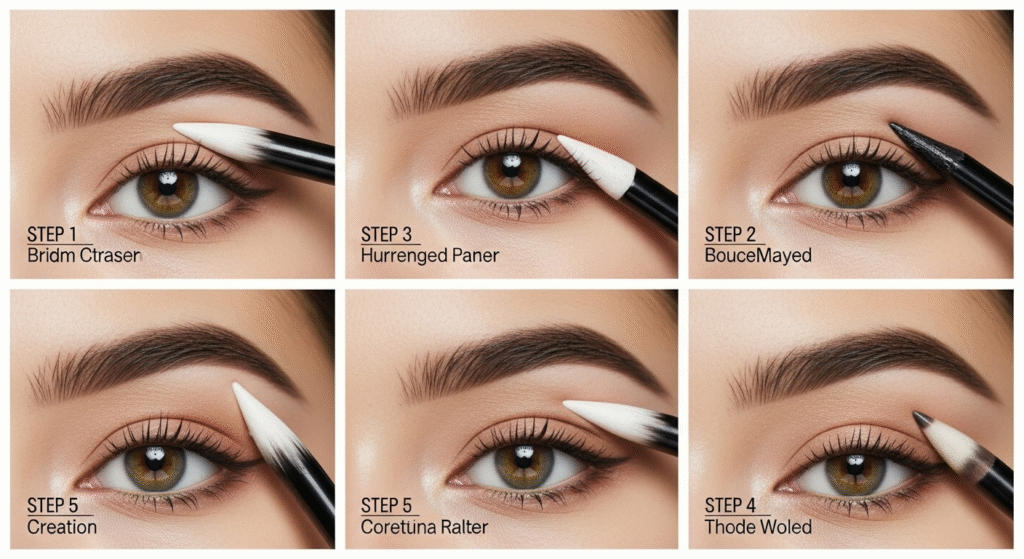
💫 5. Smudge the Lower Lash Line for That Signature Smoke
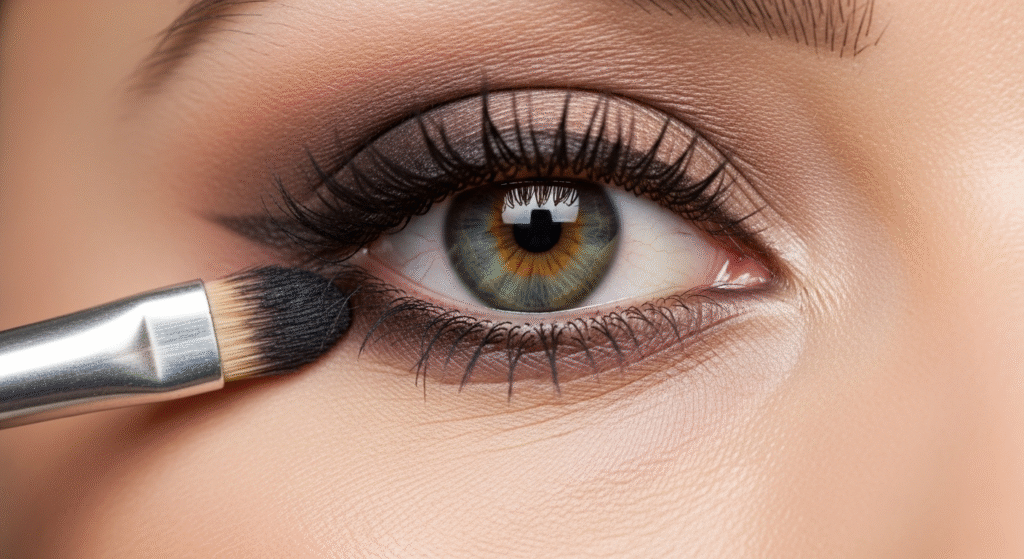
Use a tiny brush with your dark shade and smudge the lower lash line gently.
This creates that soft, sultry effect without harsh lines — the secret to pro-level smokey eyes.
🌹 6. Finish with Liner, Mascara & a Touch of Highlight
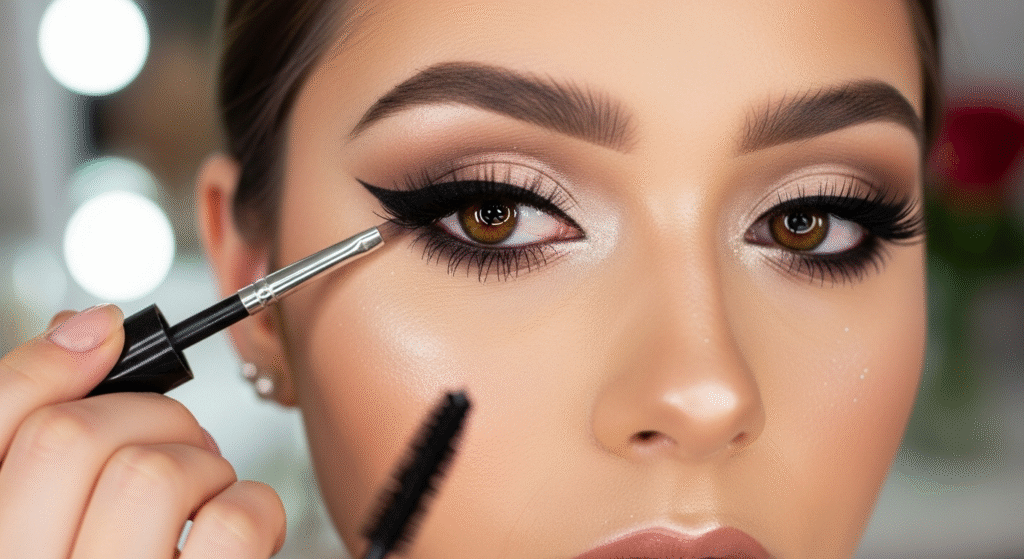
Apply kajal or eyeliner, curl your lashes, and layer mascara for drama.
Add a tiny highlight on the inner corners and brow bone — it completes the glam, lifted look.
💎 Pro Glam Hack: If you mess up, dip a cotton bud in concealer and clean the edges — crisp and perfect every time 💋
Leave a Reply